Facebook Live: Video Equipment Used for our First Broadcast (bonus: all for $100!)
- POSTED ON
- 30May2017
I decided to do Facebook Live because I want some of my clients to do it for their own businesses. However, I never have my clients do something that I’ve never done myself before and I wanted to be able to take all the hits of the lessons learned to be able to pass on to them for their own broadcasts. Part of those lessons involve equipment. Sure, you can whip out your phone and go live right now on your couch if you wanted to (and people do, and sometimes that’s just fine!) – but going live as a person just representing yourself and going live as a brand can be two different things. While Facebook Live isn’t meant to be a “production” of sorts, we all still want our videos to look “good enough” and most importantly be visible, have good sound, good lighting and nice resolution.
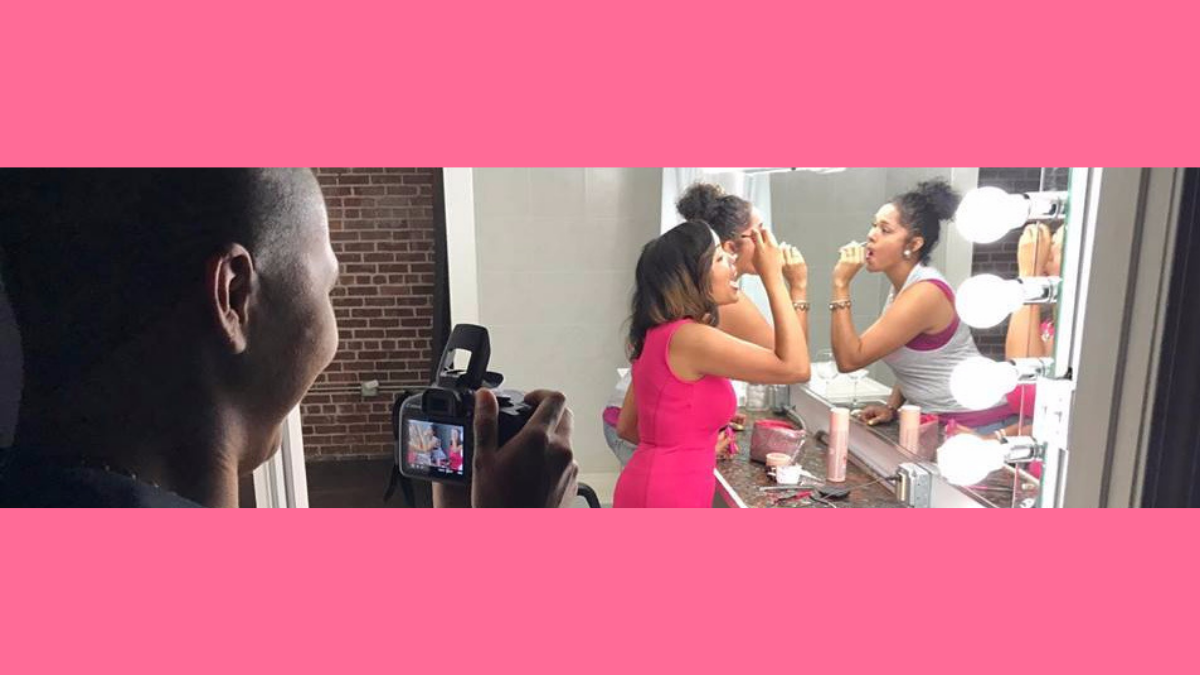
I can’t say we achieved all those things in our first broadcast, but it wasn’t bad for ADS Chat 001! Here’s how our first video turned out (see below) and below that I’m including the video equipment I ordered to try out for this first Facebook Live experience. I’d love to know what some of you are using out there so please do share your tips and suggestions!
VIDEO EQUIPMENT
Lavalier Split-Mics: I wanted something you could plug  directly into a mobile device or iPad, etc. This worked fairly decently! It’s not the best sound in the world (these were only $23), but it allowed me to have a mic for myself and a mic for my guest. The cord is about 16′ long and can split pretty far down, so it worked well for our first broadcast. I thought about a directional mic and I may get one of those down the line, but these were pretty fun to play with on round 1. For some of my future broadcasts, I think I’ll probably need wireless mics so we can move around, but if you’re sitting down the whole time, this would work.
 Lighting: So this was pretty cheap lighting (less than $19). I’ve since learned that these are not the way to go if you want to interview other people. It can potentially work in combination with the diffusion paper I’ll show you below, but that’s really only if the light source isn’t too far away from you. So for a solo video, these may work, but not if the light source needs to be a good bit farther away. Lucky for us, we shot our first video in a studio so we were able to use some of their lights they already had on deck. Those lights were old school, huge 750 watt lights. One was bounced off the ceiling and the other bounced off of a big white board in the back to create light for the whole room. Without it, we’d probably look a bit on the dark side, so great lighting can make a huge difference! However, again, if you’re just doing a solo video, something small to start with like this could work for you. I’ll likely upgrade to something like the light below in the future.
This is the lighting I’ll likely try in the future. It’s about $140 but it’s a lot more professional has a snap-on diffuser:

Wind Socks: These are cute little wind socks for the lavalier mics. I went ahead and got them in case I ever decide to shoot outside. It helps protect against annoying sound like wind. These were about $25.

Tripod: This is the tripod I tried out. It’s just able to hold my Samsung (I know, it’s not an iPhone, but it does have a better camera), or it can hold a tablet like my iPad mini, etc. The legs can extend pretty long – these ones go out 57″ – so that’s great when you don’t want to have to drag over a table or something else to sit a tripod on. This one was $24. Not bad! Definitely  keeping it. Plus it comes with a remote button and its own carry-bag. Pretty cute!
Lighting Accessories: this doesn’t look like much, but it’s diffusion paper for your lighting. Apparently, it’s quite important to ensure that your lighting isn’t too harsh – sharp shadows are bad, long shadows are bad, etc. Natural light is the best, but when you can’t get to a natural light source (i.e. by going outside, being by a window on a sunny day, etc.), diffusion paper can help soften lighting. This was only about $8 per sheet so I got two of those at the recommendation of my photographer.

So for about $100, I was able to get some basic equipment to play with for my first Facebook Live. Not too bad! Again, please let us know what you’re using out there and what you like. We’d love to see it and hear your review of it!


Great work and nicely informative.
Thanks Henry!